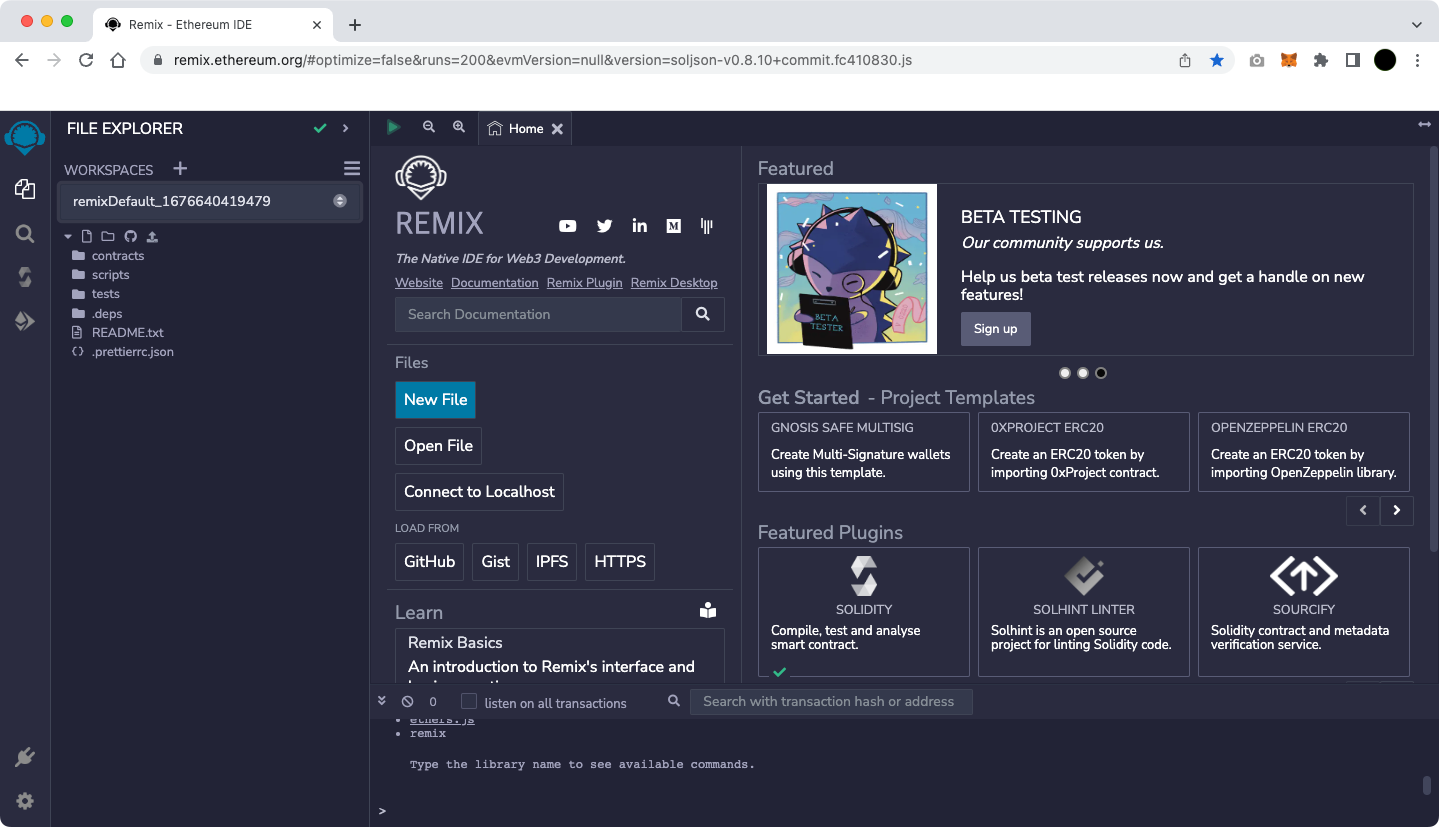
Storage.sol, Owner.sol, and Ballot.sol are shown in the contracts directory. To create a new smart contract, select them to erase it and create a new file.
The figure below shows an example of creating WEMIX_ERC20.sol file in the contracts directory.
Create a File
Step 2 : Write ERC-20 Contract
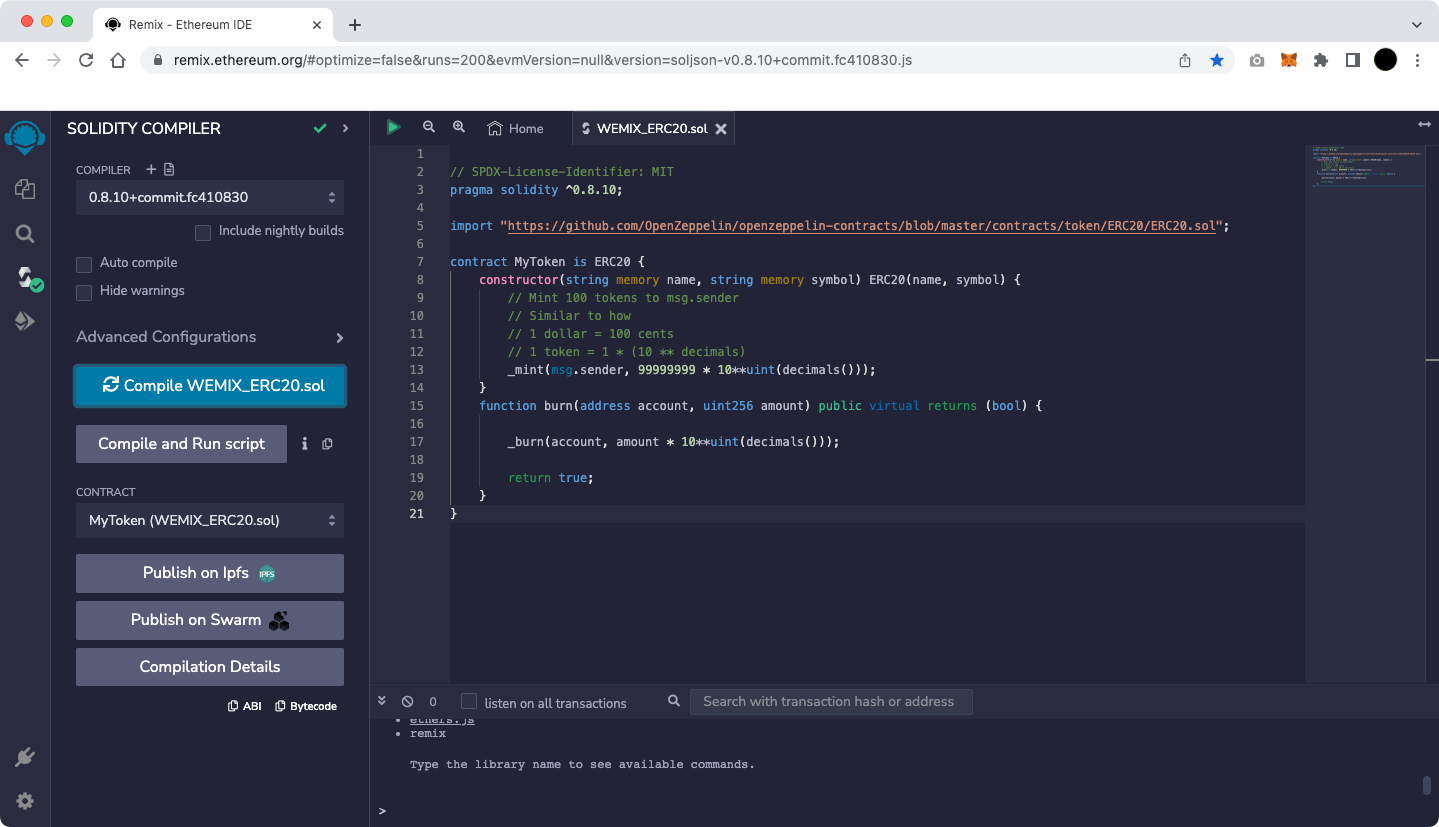
You can create the following ERC-20 contracts:
The figure below is an example of the above code in the WEMIX_ERC20.sol.
Example Code
Step 3 : Move to SOLIDITY COMPILER tap, Set Version, and Compile
Once the code is written, compile after selecting the correct compiler version on the Solidity Compiler screen.
The compiler version of the example code provided is 0.8.19.
Compile Example Code
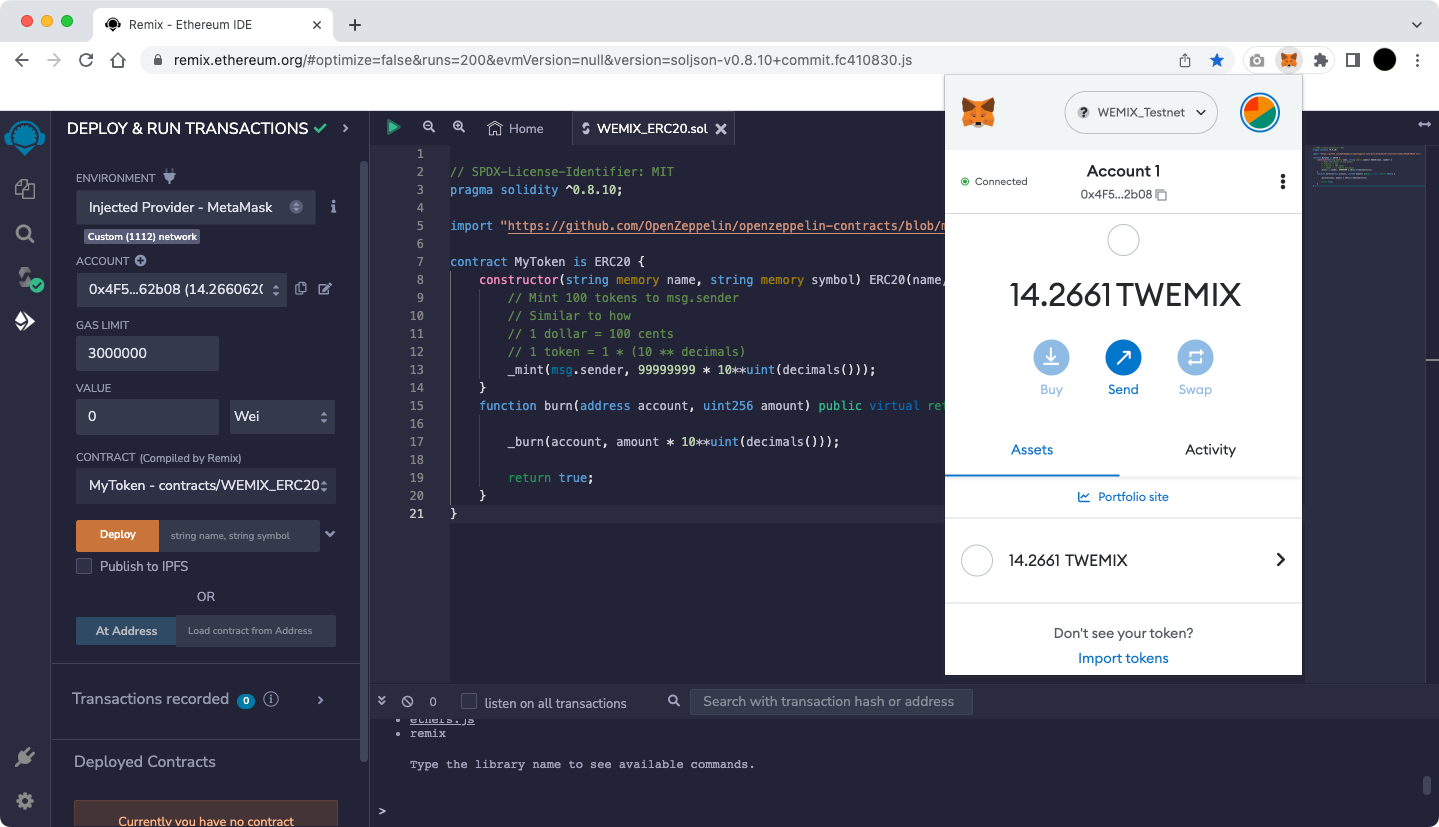
Step 4 : Set DEPLOY & RUN TRANSACTIONS
On the Deploy & Run Transactions screen, select the environment to deploy smart contracts to test.
The figure below shows an example of deploying to WEMIX3.0 Testnet using the 'Injected Provider - Metamask' provided by Remix.
Setting Delpoying Envrionment
If ENVIRONEMNT is selected as 'Injected Provider - MetaMask', it is connected to MetaMask, which requires the network to be 'WEMIX_Testnet' connection.
For more information about MetaMask connection, see Use MetaMask.
Connect MetaMask & WEMIX_Testnet
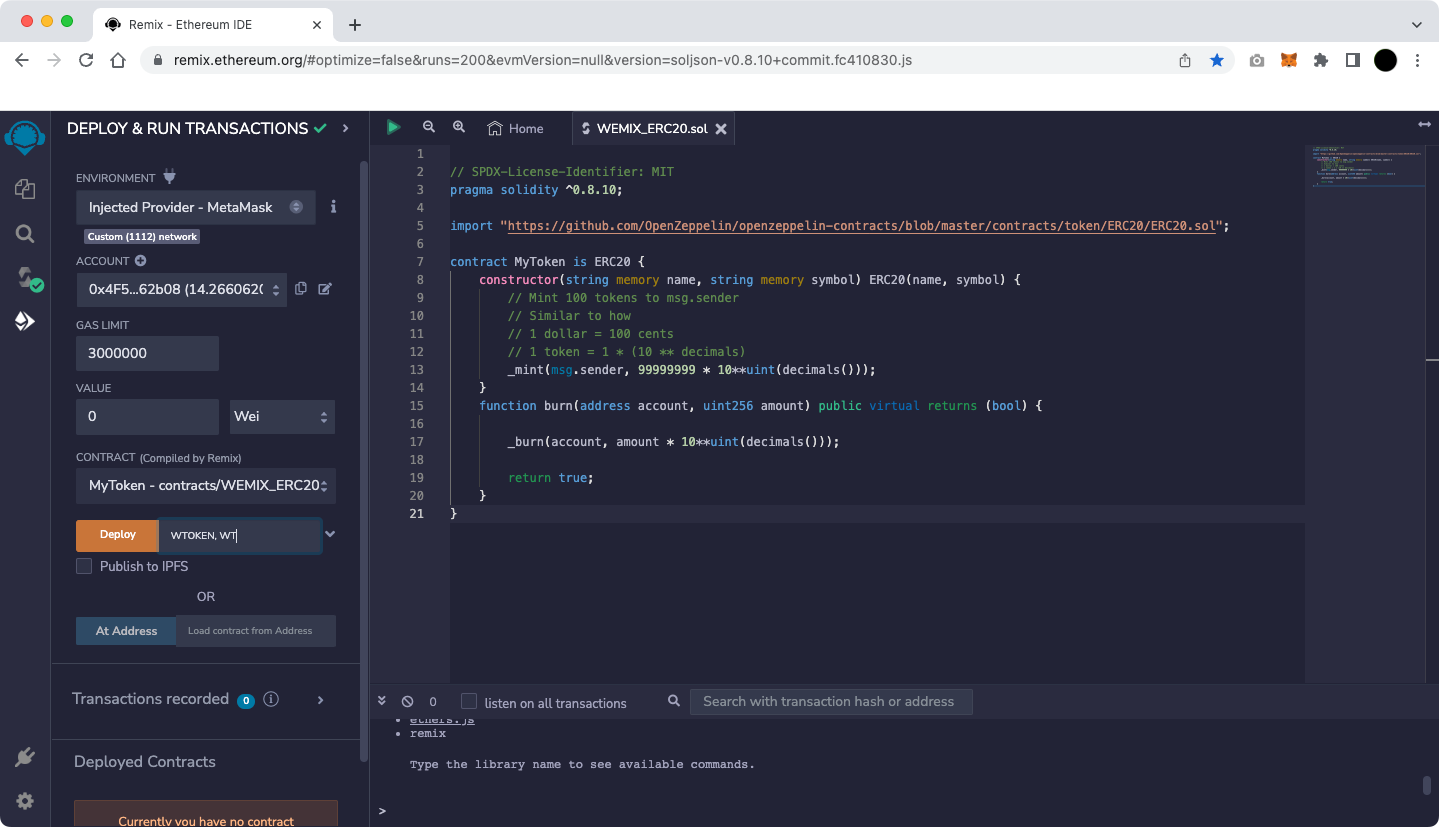
In CONTRACT, find MyToken and type the name and symbol you want in 'string name' and 'string symbol' in the input field next to Deploy.
The figure below is an example of designating 'WTOKEN', 'WT'.
Setting Tokne Name & Symbol
Step 5 : Set Gas Fee and Sign at MetaMask
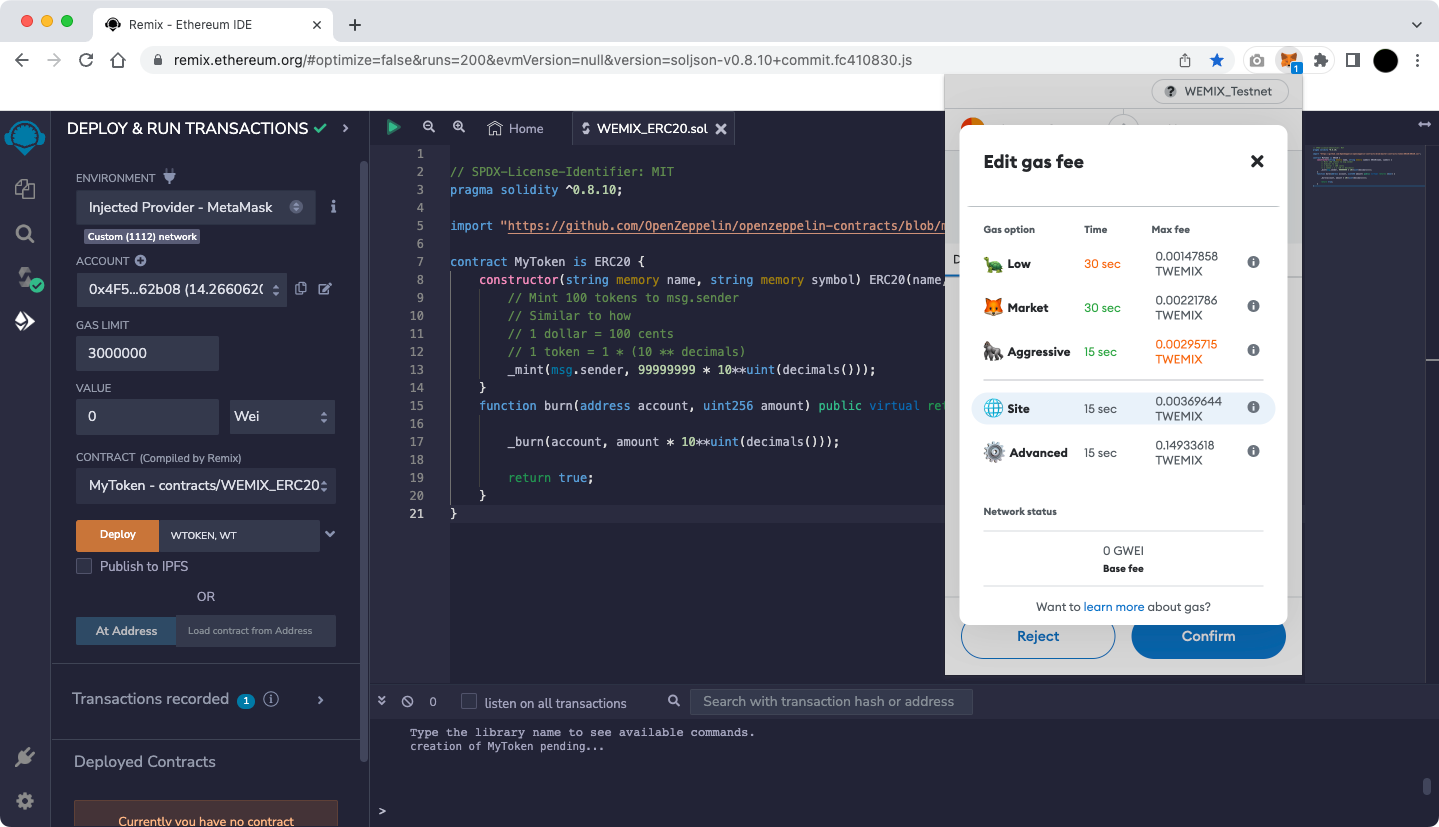
After setting on the Deploy & Run Transactions, if you select 'deploy' button, the MetaMask pop-up appears. The screen showing 'Gas Fee' based on Ethereum will be displayed as shown below.
WEMIX has a different fee policy than Ethereum, so press the 'Site suggested' button to change t the Gas Fee.
MetaMask, default 'Gas fee'
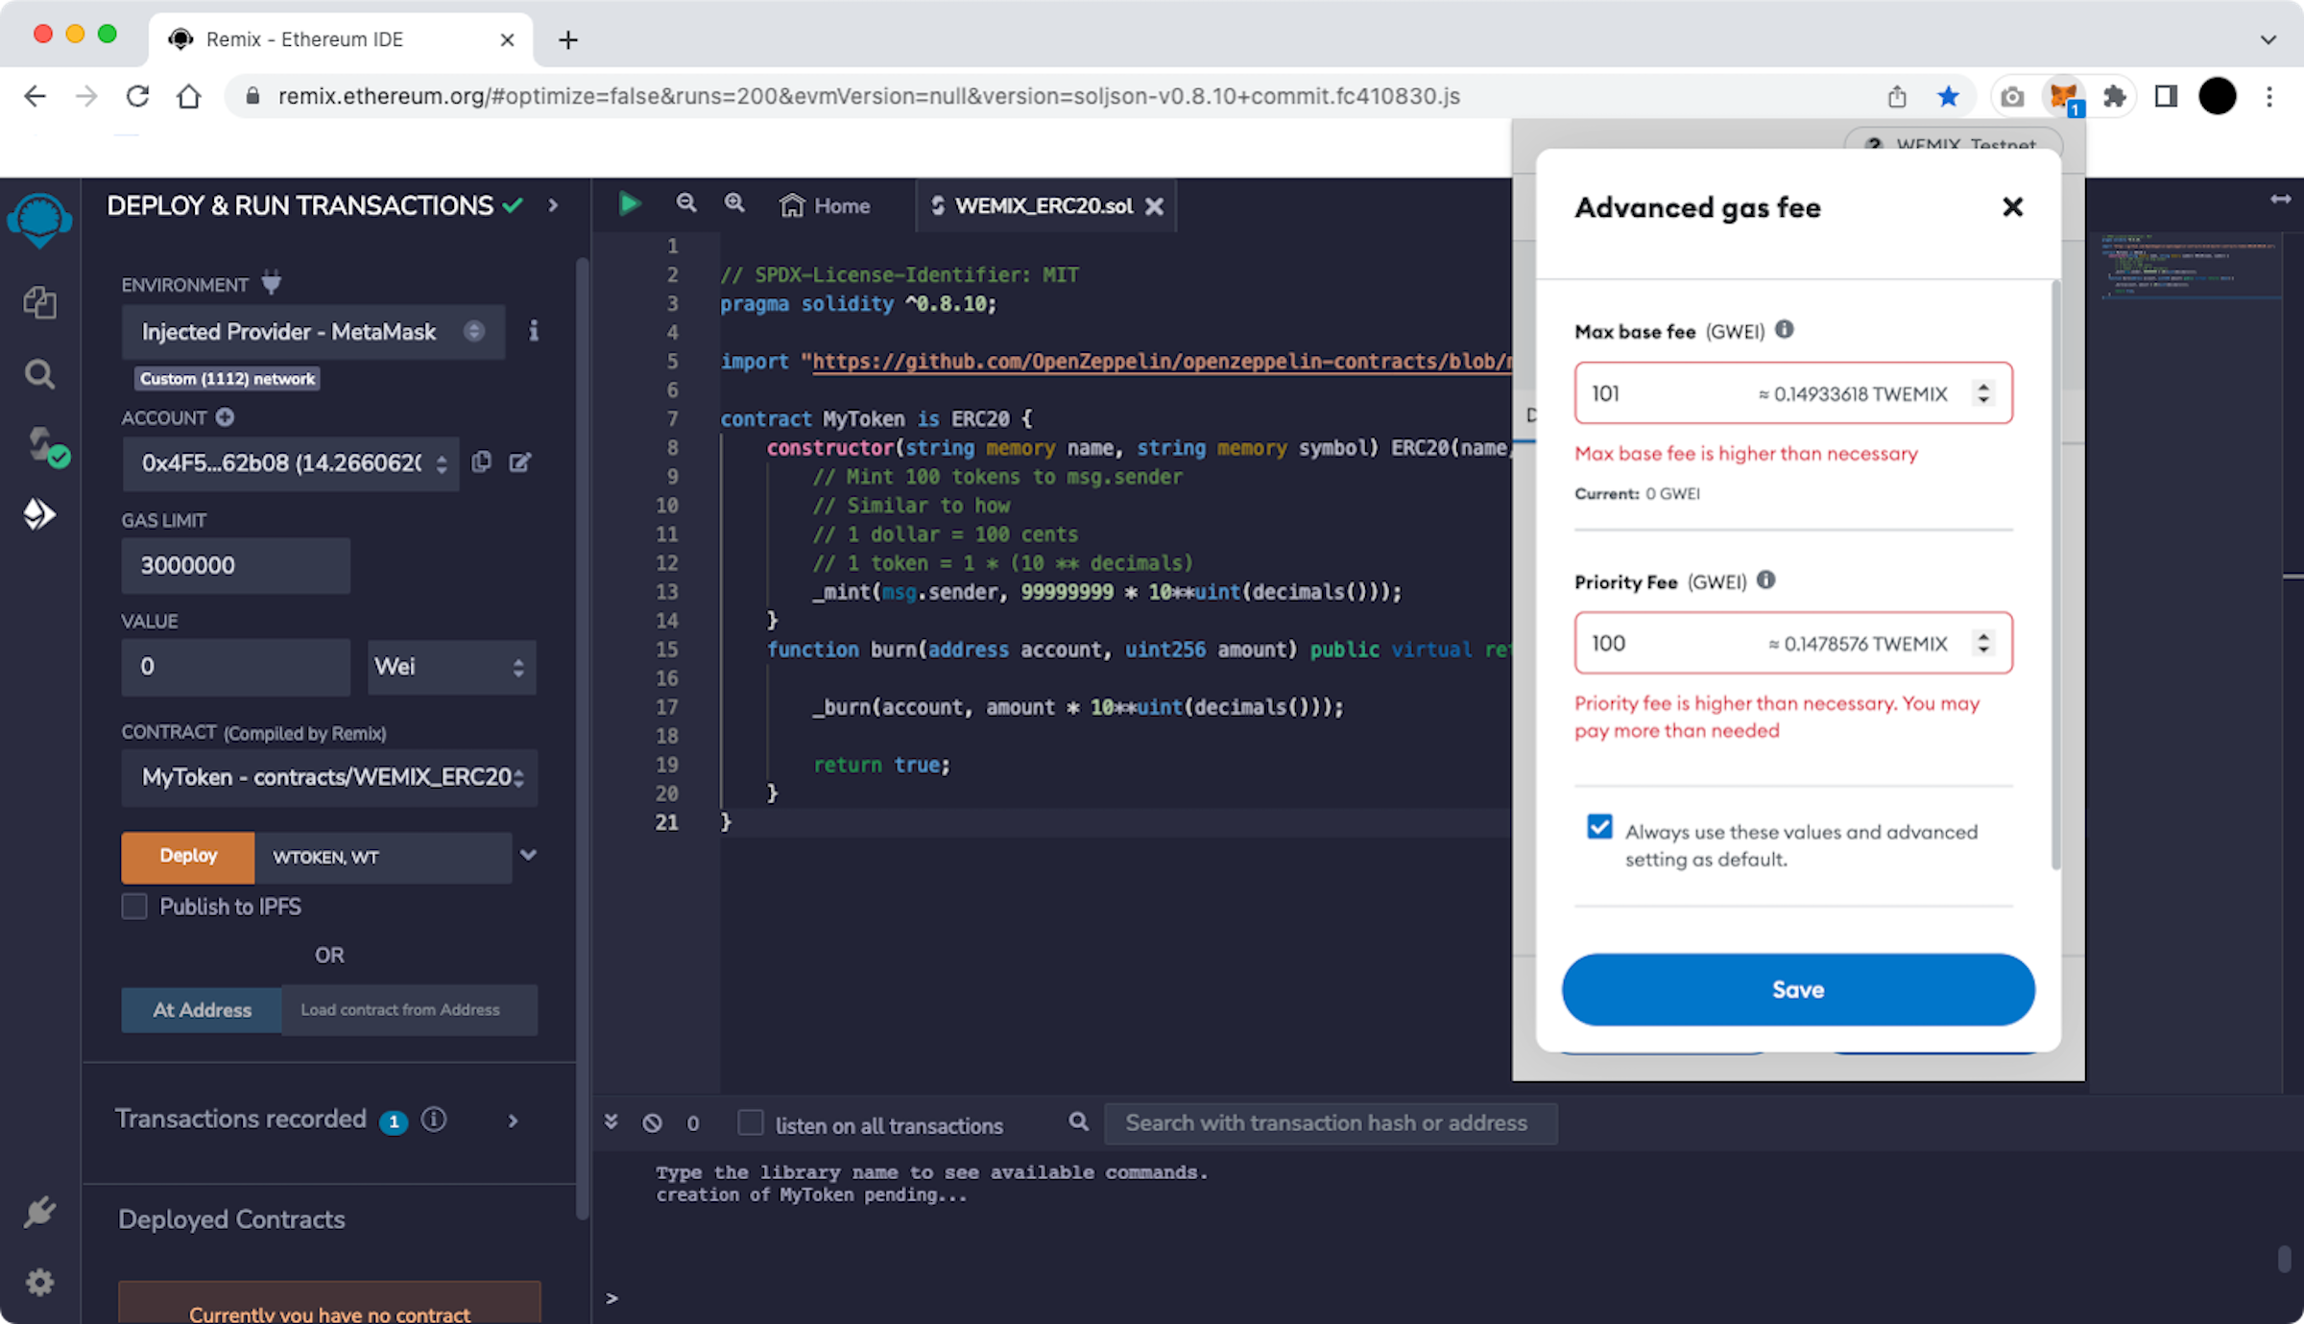
Selecting 'Advanced' on the screen below allows the user to set 'Max priority fee (GWEI)' and 'Max fee (GWEI)' manually.
MetaMask default 'Gas Fee' setting entry screen
'Gas Fee' setting
Currently, WEMIX is using a fixed 'Max priority fee (GWEI)' and the value is 100.
Max fee is a user-defined value and the minimum value is MaxPriorityFee+BASE_FEE.
BASE_FEE in WEMIX is variable according to EIP-1559. Therefore, for a transaction to be successfully created, it is recommended to set it as follows.
Max base fee (GWEI) = 101
Max priority fee (GWEI) = 100
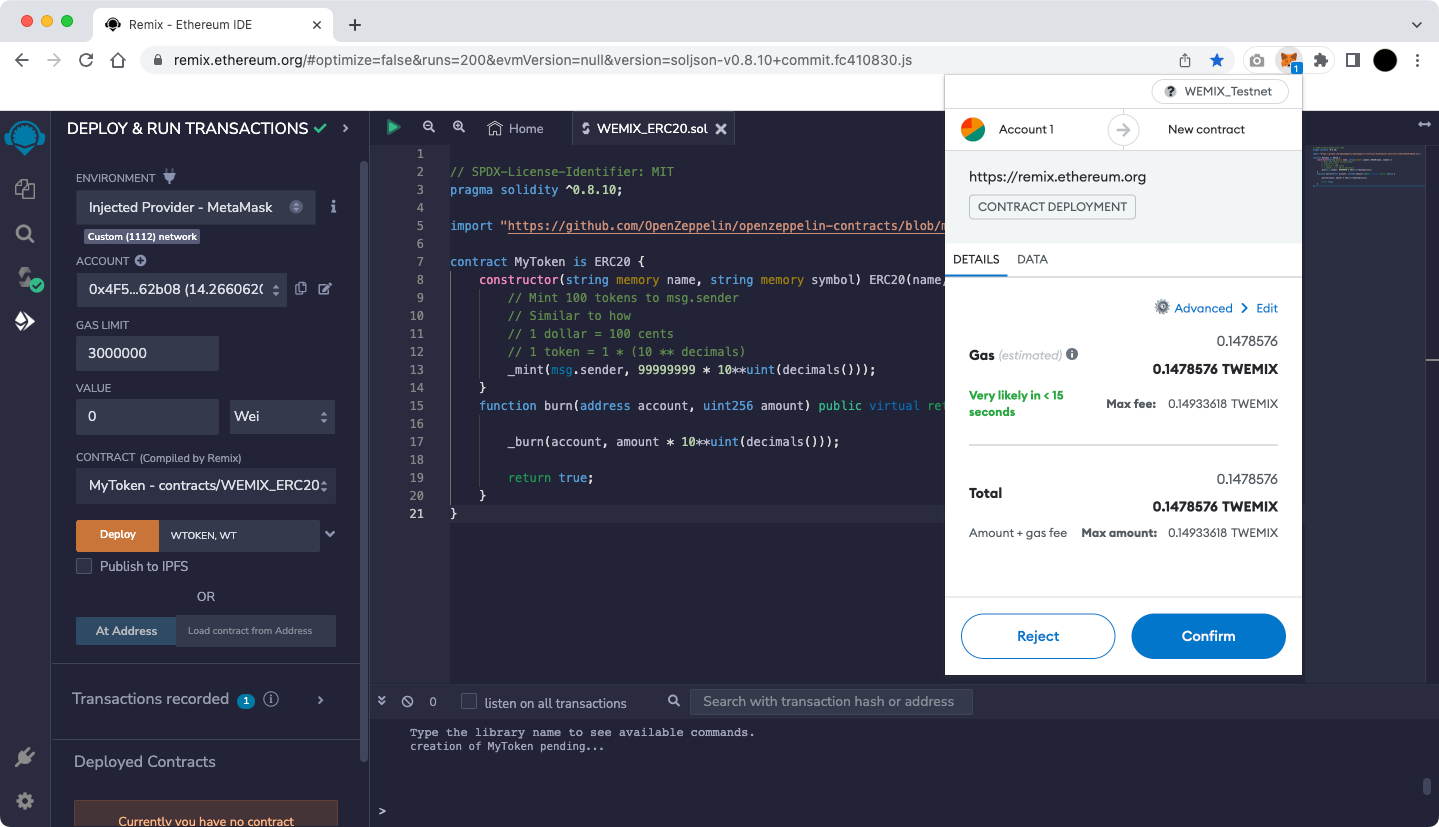
Complete the Fee setup in the figure above and select 'Save' to be ready for deployment as shown below.
Confirm Example ERC-20 Deployment
Select 'Confirm' in the figure above to proceed with the contract deployment.
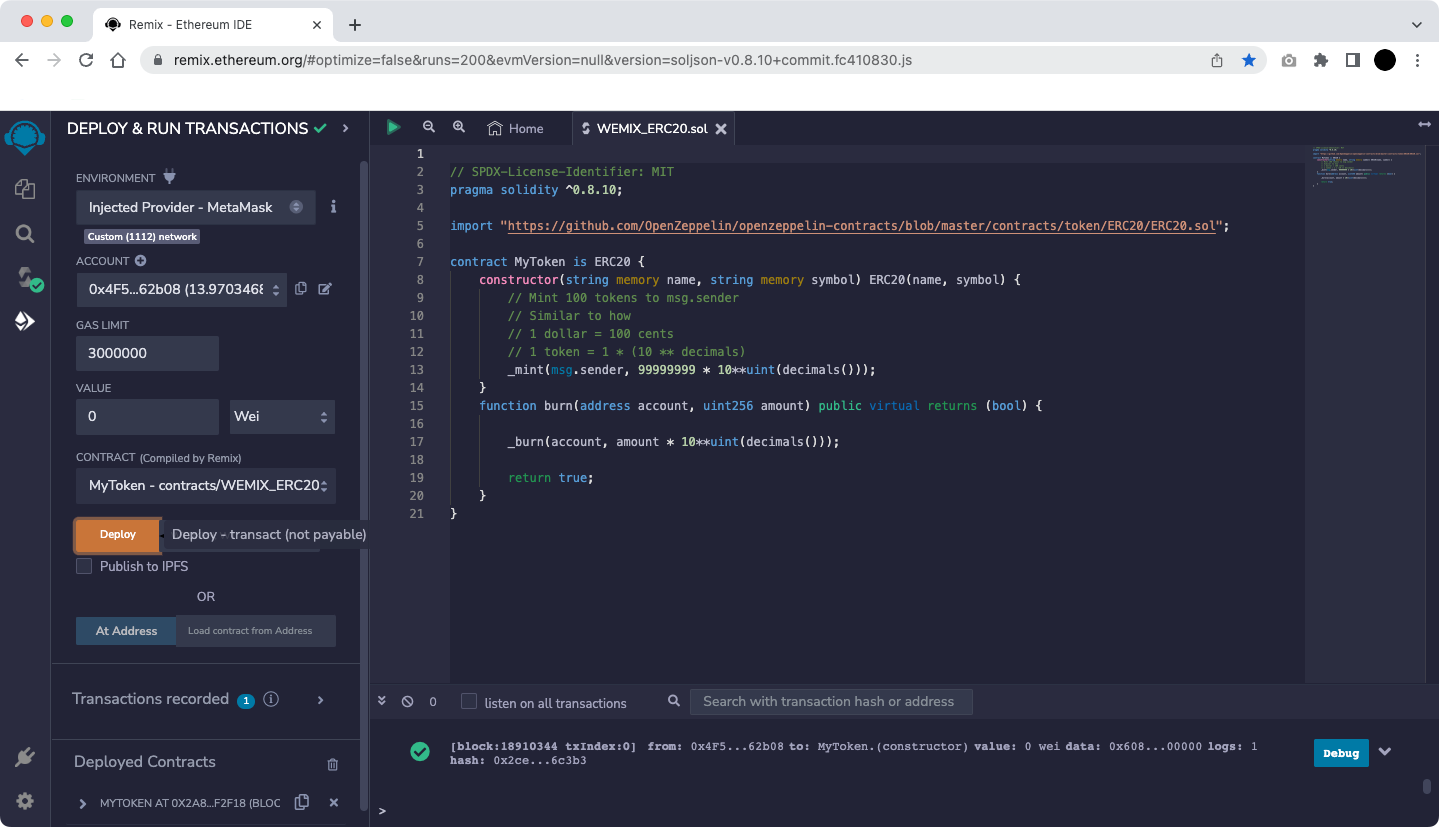
If a green check mark appears at the bottom of the Remix screen as shown below, the deployment is completed normally.